How to Create a DIY Charging Station Using SMPS
How to Create a DIY Charging Station Using SMPS
Building a DIY charging station using a Switch Mode Power Supply (SMPS) is a cost-effective and customizable solution for charging multiple devices. This guide will walk you through the process step by step.
Step 1: Gather Materials
Before you begin, you'll need the following materials:
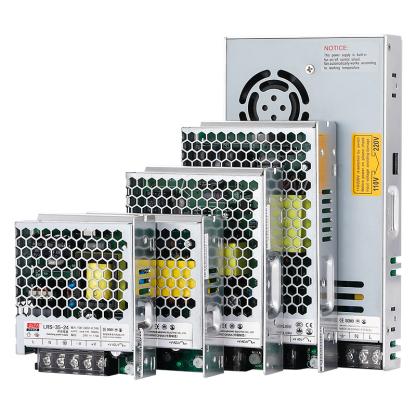
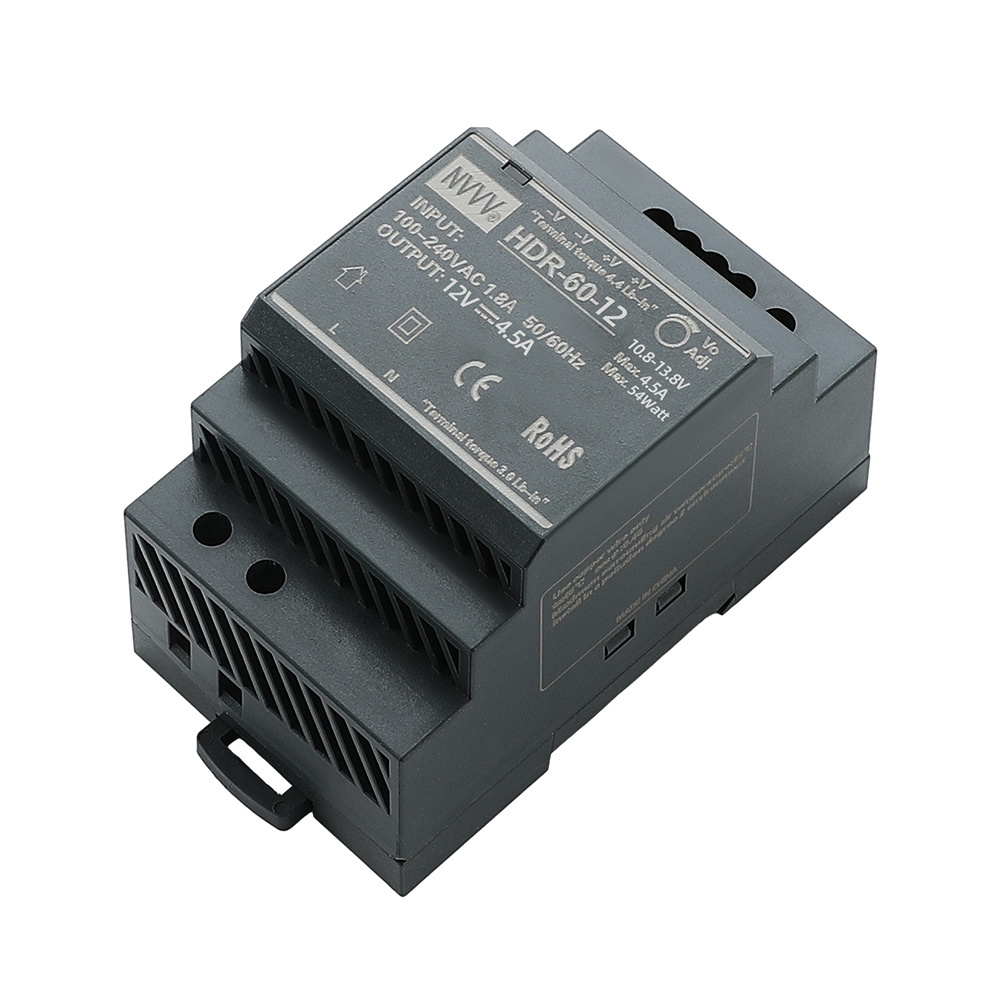
- Switch Mode Power Supply (SMPS): Choose an SMPS with an output voltage that matches your devices' charging requirements (e.g., 12V, 24V).
- Charging Ports: USB ports or DC jacks, depending on your device needs.
- Voltage Regulators: If different output voltages are needed, get step-down or step-up voltage regulators.
- Heat Sinks: To dissipate heat and prevent the SMPS from overheating.
- Enclosure: A protective casing for the SMPS and other components.
- Wires and Connectors: For connecting all components.
- Fuse: To protect the SMPS and your devices from power surges.
Step 2: Design the Circuit
Designing the circuit is crucial. Follow these steps to ensure your charging station works as intended:
1. Determine the Output Requirements
Calculate the total power required by adding up the power consumption of all the devices you plan to charge. Ensure the SMPS can handle this total power load.
2. Configure the SMPS
Adjust the SMPS output voltage based on your devices' requirements. If your devices require different voltages, use voltage regulators to modify the SMPS output to the necessary levels.
3. Integrate the Charging Ports
Connect the charging ports (USB or DC jacks) to the SMPS output via the voltage regulators if needed. Ensure each port is configured to the correct voltage for the device it will charge.
4. Install Safety Components
Include fuses and heat sinks in your design to protect your devices and ensure safe operation. Fuses prevent damage from overcurrent, and heat sinks dissipate heat generated by the SMPS and regulators.
Step 3: Assemble the Charging Station
With the design ready, you can start assembling your DIY charging station. Follow these steps:
1. Mount the SMPS
Secure the SMPS inside the enclosure, ensuring proper ventilation for heat dissipation. Use screws to fasten the SMPS, leaving space for airflow.
2. Wiring
Connect the SMPS to the charging ports, ensuring correct polarity and secure connections. You can solder the connections or use screw terminals for added stability.
3. Install Fuses
Add fuses in series with the output lines to protect your devices from electrical surges. Choose fuses based on the maximum current rating of your devices.
4. Add Heat Sinks
Attach heat sinks to the SMPS and voltage regulators to prevent overheating. Secure them using screws or thermal adhesive.
Step 4: Testing
Once assembled, test your charging station to ensure it works correctly:
1. Initial Power-On
Power on the SMPS and use a multimeter to measure the output voltage, confirming it matches your design specifications.
2. Test Charging
Connect your devices to the charging ports and verify that they charge as expected. Test each port to ensure stable power delivery.
3. Monitor Temperature
During an extended charging test, monitor the temperature of the SMPS and other components. If overheating occurs, consider improving ventilation or adding additional cooling.
Step 5: Final Assembly
After successful testing, complete the assembly process:
1. Secure All Components
Ensure all components are securely fastened within the enclosure to prevent movement or damage during use.
2. Label Outputs
If your charging station has multiple voltage outputs, label each port clearly to avoid confusion during use.
Step 6: Use Your DIY Charging Station
Now that your DIY charging station is assembled, it's ready for use. Here are some tips:
1. Charge Portable Devices
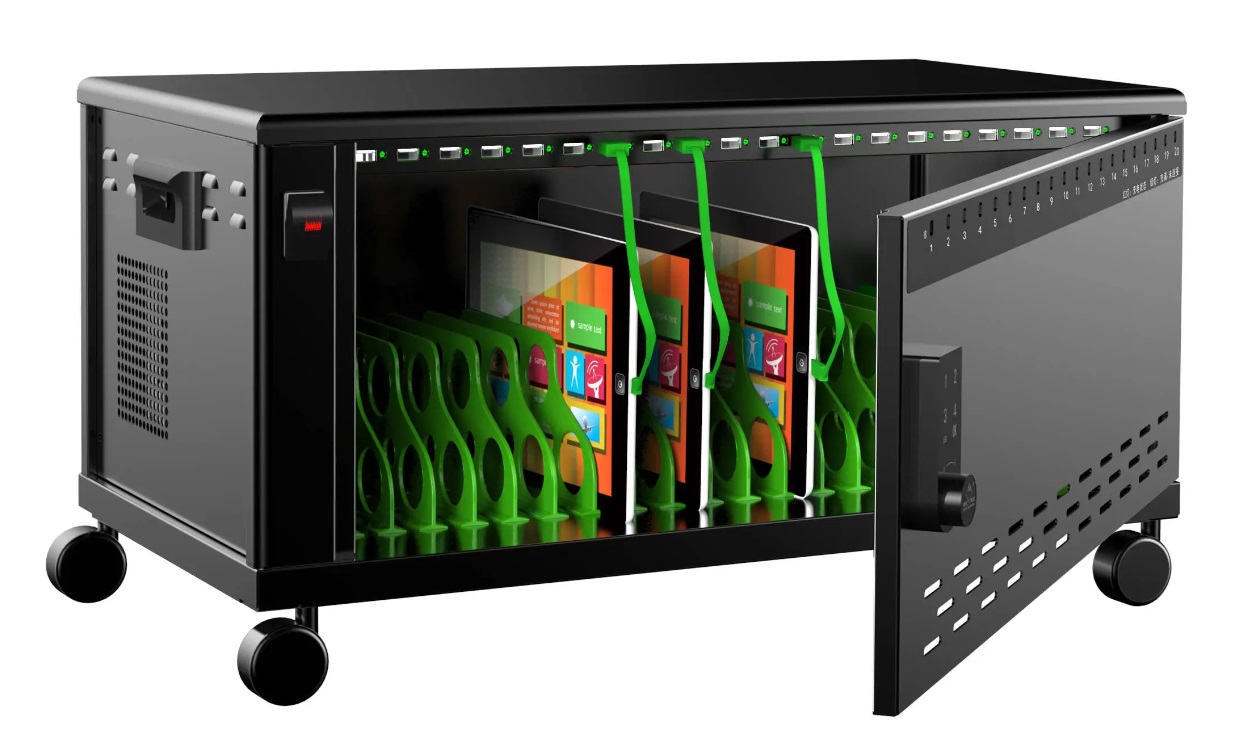
Use your charging station to power various devices like smartphones, tablets, laptops, or other gadgets.
2. Customize as Needed
If you need more charging ports or additional features, you can further customize your charging station, such as adding more USB ports or including indicator lights.
Important Considerations
While building and using your DIY charging station, keep these points in mind:
1. Power Rating
Ensure the SMPS has enough power capacity to support all connected devices. Exceeding its power rating can lead to overheating or damage.
2. Safety
Always incorporate fuses and heat sinks to protect your devices and the SMPS. Regularly check the components for any signs of wear or malfunction.
3. Ventilation
Good ventilation is crucial to avoid overheating. Ensure your enclosure has enough ventilation holes or consider using external fans to enhance cooling.
By following these steps, you can build a practical DIY charging station that meets your needs and offers convenience in your daily life.