How to Make a 12 Volt DC Power Supply at Home
Making a 12 volt DC power supply for home use is a practical and educational electronics project. It's worth noting, though, that it's important to follow safety precautions when doing this type of electronic work. Here is a step-by-step guide to making a simple 12 volt DC power supply using an AC to DC converter, using common electronic components and tools to safely create a stable 12 volt power supply.
Prepare materials and tools
Before starting to make, make sure that the following materials and tools are ready and suitable for the electronic project being carried out. At the same time, you must fully understand the specific role of each tool. This is the basis for successfully making and using power supplies safely. During the operation, using these tools correctly will help you complete the project more efficiently and safely.
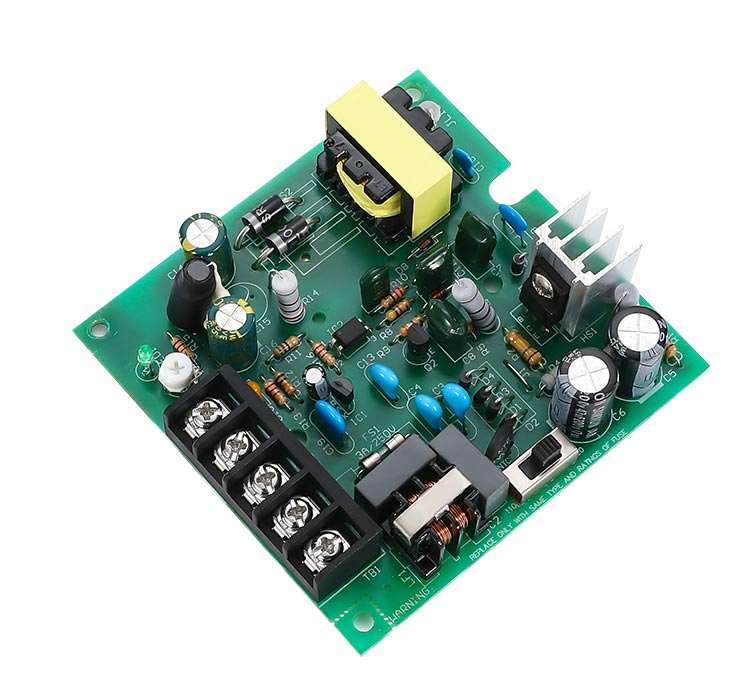
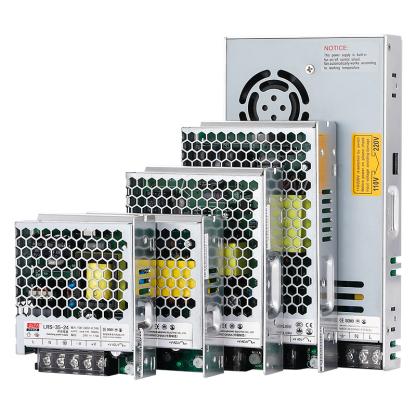
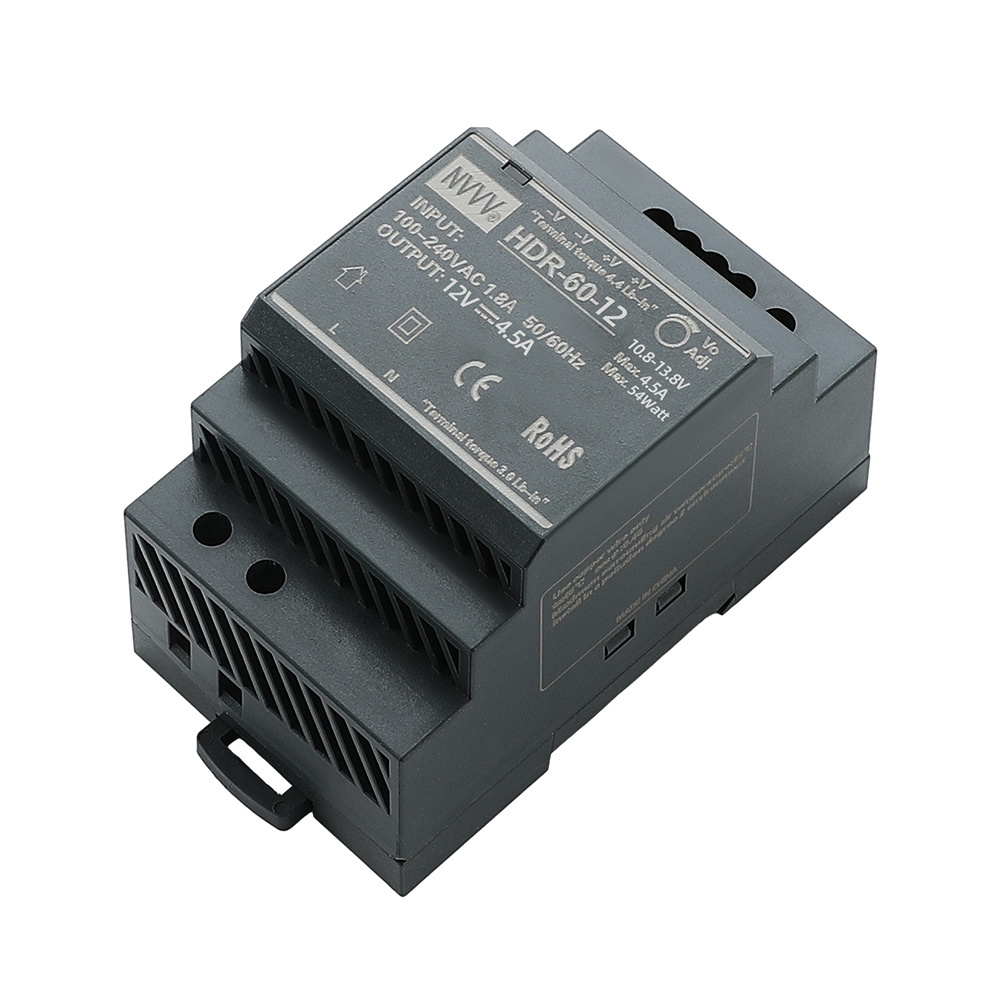
Below I will show you some of the tools and materials necessary for the production process.
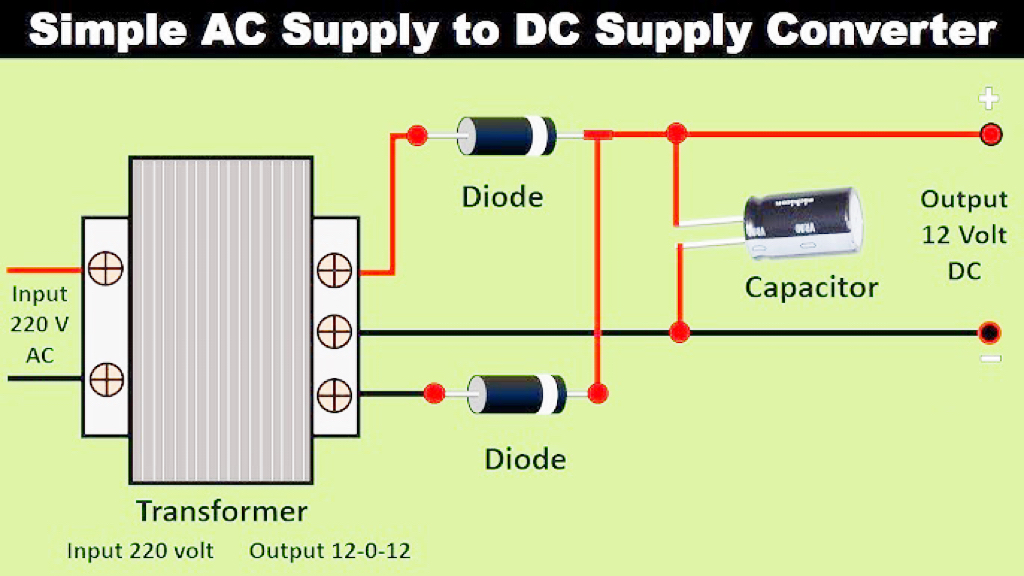
Transformer (AC to DC, 12V output): used to convert household AC voltage to a lower AC voltage to provide a suitable input voltage for subsequent rectification and voltage stabilization.
Rectifier diodes x4: used to convert alternating current into direct current. Full-wave rectification can be achieved through bridge connection, improving energy efficiency and output voltage stability.
Capacitor (at least 1000μF, withstand voltage above 25V): used for filtering to reduce pulsation fluctuations in DC output and make the voltage output more stable.
Voltage regulator 7812: ensures that the output voltage is stable at 12 volts. A voltage regulator provides a constant output voltage regardless of changes in input voltage or load.
Heat sink: used to reduce the heat generated by the voltage regulator when working for a long time to prevent damage to the voltage regulator due to overheating.
Soldering Tools: Used to secure and electrically connect electronic components together. Soldering is a key step to ensure a stable and reliable circuit connection.
Wires: Used to connect various components in a circuit. Selecting appropriate wire specifications and materials can ensure the efficiency and safety of current transmission.
Insulating Tape: Used to wrap and protect wire connection points to prevent short circuits and electrical leaks.
Multimeter: Used to test and adjust circuits. By measuring voltage, current and resistance, you can ensure that the output of the power supply meets the design requirements.
After preparing the required materials and tools, you can start assembly. The main five steps include assembling the rectifier bridge, adding filter capacitors, installing the voltage regulator, testing and adjustment, and installation and packaging.
Assembling the rectifier bridge
The assembly of the rectifier bridge is a key step in converting AC power to DC power. Connect the four rectifier diodes as follows:
Connect the diode anodes of each diagonal pair to the output of the transformer.
The other two ends (negative pole) are connected together to form the negative pole of the DC output.
The AC input terminal is connected to the two AC output terminals of the transformer.
Add filter capacitor
Connect a capacitor in parallel to the DC output terminals (positive and negative) of the rectifier bridge. This capacitor can reduce the pulse fluctuation of the output DC power and make the voltage output more stable. Choosing a capacitor value that is large enough can filter more effectively, and it is generally recommended to be no less than 1000μF.
Install voltage regulator
Connect the 7812 voltage regulator to ensure output voltage stability:
Input the filtered DC voltage to the input pin of 7812.
The output pin of the voltage regulator is a 12 volt DC output.
The ground pin of the voltage regulator is connected to the negative terminal of the power supply.
If the temperature of the voltage regulator is high when it is working, a heat sink needs to be installed to avoid overheating.
Test and adjust
Use a multimeter to measure the output voltage and make sure it is stable at 12 volts:
If the voltage is too high or too low, check whether the voltage regulator and rectifier circuit are installed and working correctly.
Check that all connections are tight and there is no risk of short circuits.
Installation and packaging
Make sure all electrical connections are secure and wrap exposed wires with electrical tape or heat shrink tubing.
Install the circuit board in a suitable enclosure to protect it from electrical shock and environmental damage.
Make sure there is good ventilation and that the heat sink is not blocked.
Conclusion
Through the above assembly steps, you can safely create a stable 12 volt DC power supply at home, suitable for various small electronic projects and equipment that require 12 volt DC input. Not only is this a practical e-learning project, it will also give you a deeper understanding of the fundamental principles and practices of power supply design. However, don’t try it if you don’t know anything about it. Even if you are a professional, please ensure your own safety during operation to avoid the risk of electric shock and short circuit.


